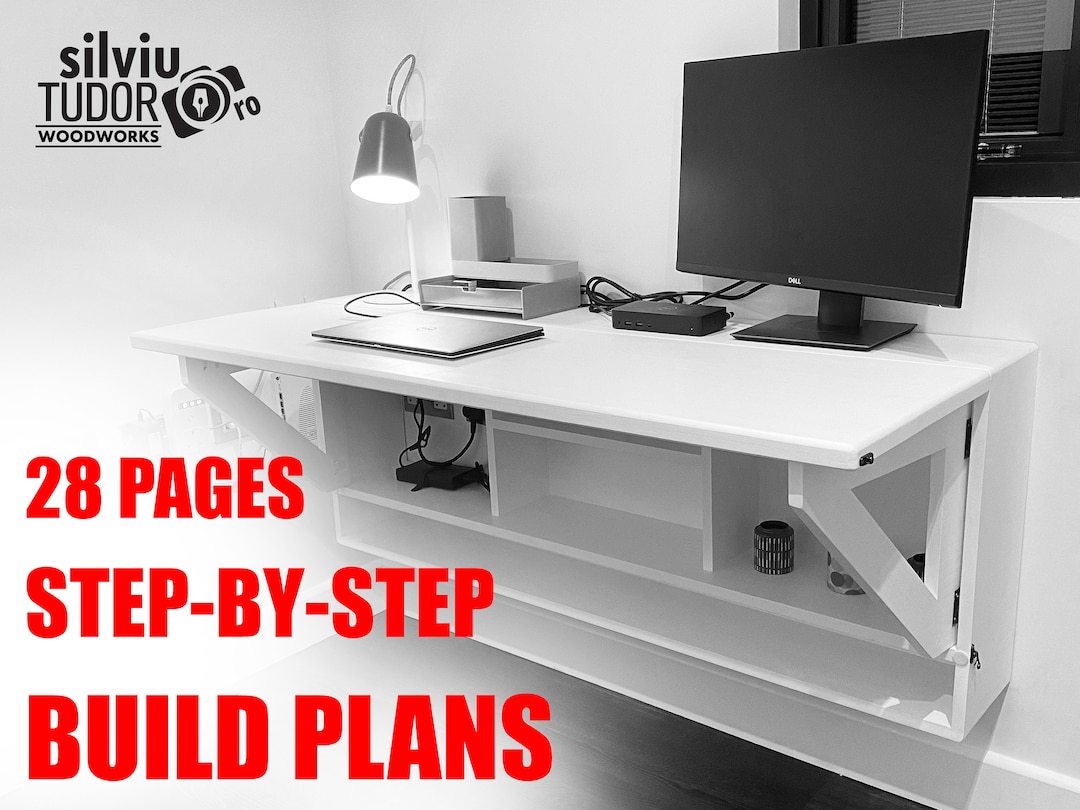
Step-by-step guide for making a floating wooden desk

Crafting a Floating Wooden Desk: A Comprehensive Guide
A floating desk, with its seemingly suspended tabletop, adds a touch of modern elegance and visual intrigue to any workspace. While the illusion of levitation is achieved through clever construction, creating a floating desk is a project within reach of even moderately skilled woodworkers. This guide will lead you through every step, from initial planning to finishing touches, enabling you to build a sturdy and visually stunning floating desk that complements your style and needs.
I. Planning and Preparation
1. Design and Dimensions
Before diving into construction, visualize the desk you desire. Consider the following:
- Size: Determine the length, width, and desired height of your desk. Account for the thickness of the tabletop and support structure.
- Shape: Will it be a classic rectangular desk or a more unconventional shape like a curved or angled design?
- Material: Choose your wood species based on aesthetics, durability, and budget. Common choices include oak, maple, walnut, or pine.
- Style: Do you envision a minimalist, rustic, or industrial aesthetic? This will guide your material selection, hardware choices, and overall design.
2. Tools and Materials
Gather the necessary tools and materials to ensure a smooth construction process. You'll need:
- Wood: For the tabletop and support structure, depending on your design and chosen material.
- Woodworking Tools: Saw, drill, sander, router (optional), measuring tape, pencil, clamps, level.
- Hardware: Fasteners (screws, bolts, etc.), hinges (for a drawer or keyboard tray), brackets (for mounting the tabletop), decorative hardware (knobs, pulls, etc.).
- Finishing Materials: Wood glue, wood filler, sandpaper, stain, paint, sealant (optional).
II. Construction
1. Building the Support Structure
This is the foundation of your floating desk. It's what creates the illusion of the tabletop being suspended. There are a few common approaches to creating a support structure:
- Metal Brackets: This involves using L-shaped metal brackets mounted to the wall and the underside of the tabletop. This is a simple and efficient method, particularly for lighter tabletops.
- Wooden Beams: You can create a hidden support beam system using sturdy wooden beams. This method allows for a more integrated look and can handle heavier tabletops.
- Combination Approach: Incorporate both metal brackets and wooden beams for increased stability and a customized appearance.
Steps for Constructing the Support Structure:
- Mark and Measure: Determine the exact placement of the support structure on the wall. Mark the wall and the underside of the tabletop to ensure alignment.
- Mount the Wall Supports: Install brackets, beams, or a combination thereof to the wall. Use appropriate anchors and screws for secure mounting.
- Attach to Tabletop: Secure the support structure to the underside of the tabletop using screws, bolts, or brackets, ensuring the tabletop is level and stable.
2. Crafting the Tabletop
The tabletop is the focal point of your floating desk, and it's crucial to craft it with both functionality and aesthetics in mind.
- Cutting the Wood: Cut your chosen wood to the desired size and shape. Consider using a table saw or circular saw for precision cuts.
- Joining Tabletop Pieces: If your design requires multiple pieces to form the tabletop, carefully join them using wood glue, biscuits, or dowels. Ensure a smooth and seamless finish.
- Edge Detailing (Optional): For added visual appeal, you can rout the edges of the tabletop to create a profile such as a bullnose, ogee, or chamfer. This adds dimension and sophistication.
3. Adding Functionality
Once your tabletop and support structure are in place, consider adding elements that enhance your desk's usability.
- Drawers: Install drawer slides and build drawers to provide convenient storage.
- Keyboard Tray: Incorporate a retractable keyboard tray that slides in and out for ergonomic comfort.
- Cable Management: Plan for hidden cable management to minimize clutter and maintain a clean workspace. This can be achieved with wire mold, grommets, or specialized cable management systems.
III. Finishing
1. Sanding and Refinishing
Sand the entire desk surface, starting with coarser grits to remove imperfections and gradually moving to finer grits for a smooth finish.
2. Stain or Paint (Optional)
If desired, stain or paint the desk to achieve your desired aesthetic. Apply stains evenly, following manufacturer instructions. For paint, choose a durable and washable finish.
3. Sealing (Optional)
Consider sealing your desk with a clear sealant, such as polyurethane, to protect the wood from moisture, scratches, and stains.
IV. Installation
Once your floating desk is fully constructed and finished, it's time for installation.
- Prepare the Wall: Ensure the wall where you'll mount the desk is sturdy and free from obstructions.
- Align and Secure: Carefully position the desk against the wall, ensuring it's level. Secure the support structure to the wall using appropriate fasteners. Use a level to verify alignment throughout the installation process.
- Final Adjustments: Make any final adjustments to ensure the desk is stable and securely mounted. Tighten screws or bolts as needed.
V. Maintenance and Care
To keep your floating desk looking its best, follow these maintenance tips:
- Regular Cleaning: Wipe down the surface with a damp cloth to remove dust and debris. Avoid harsh cleaners or abrasives that can damage the finish.
- Protect from Water: Avoid spills, and if any occur, clean them up promptly.
- Refinishing: If the finish begins to wear or get scratched, consider refinishing the desk to restore its original look.
By carefully following these steps, you can build a beautiful and functional floating wooden desk that will enhance your workspace for years to come. Embrace the challenge, let your creativity guide you, and enjoy the process of crafting this unique piece of furniture.

Comments
Post a Comment