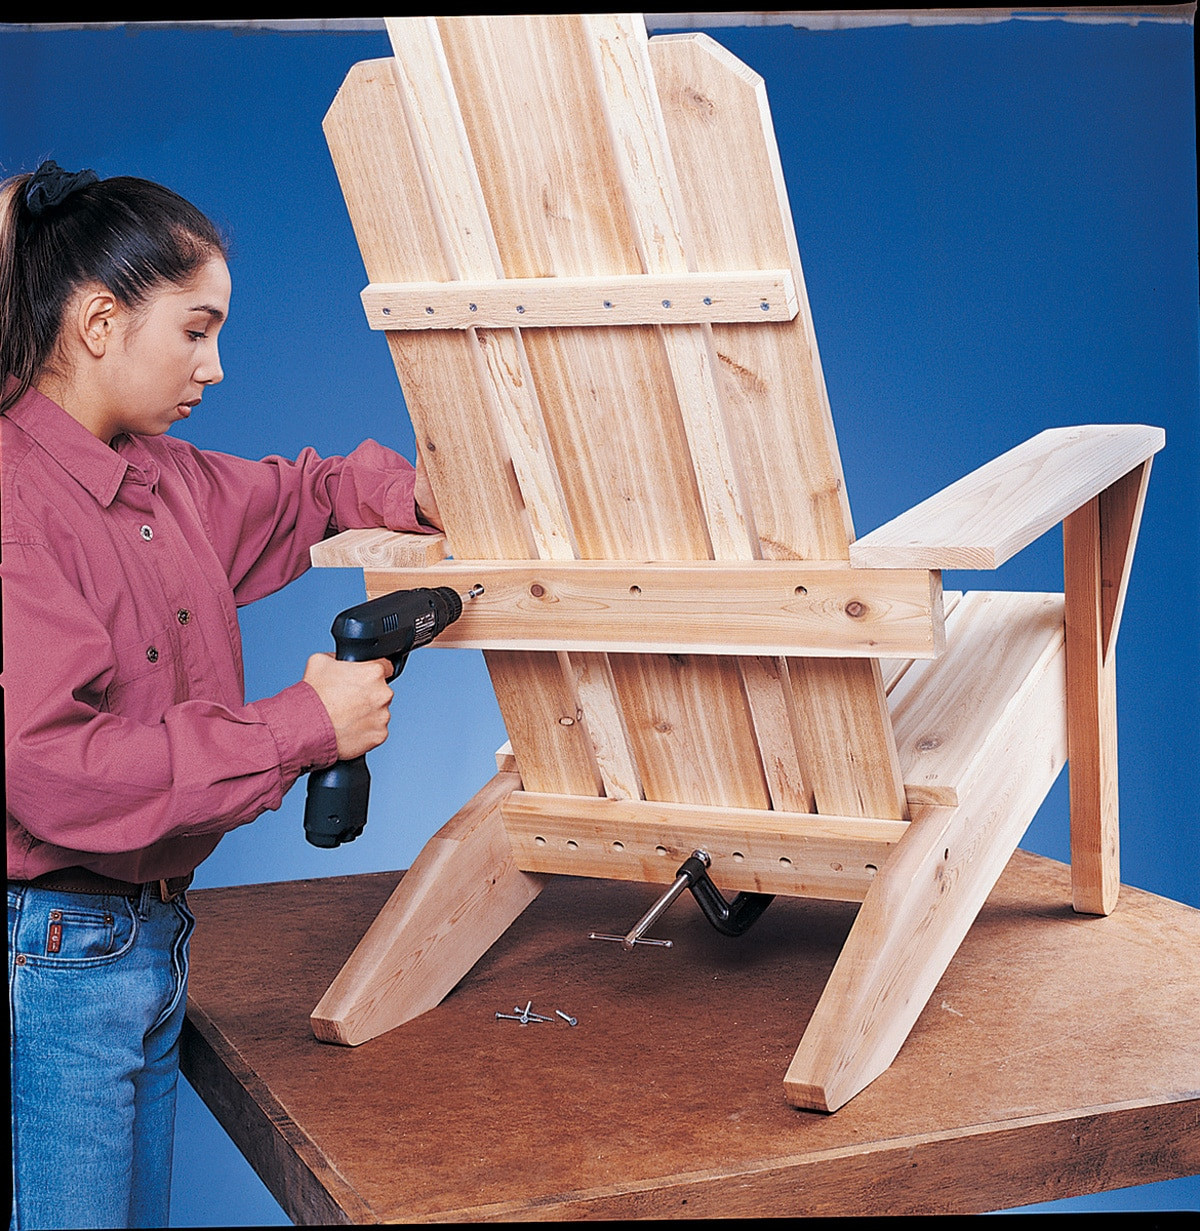
How to build a custom adirondack chair with unique finishing touches


Adirondack chairs are synonymous with relaxation and outdoor enjoyment. But why settle for a generic design when you can build your own, infusing it with personal style? This guide will walk you through constructing a custom Adirondack chair with unique finishing touches that reflect your personality.
Start with the Basics:
1. Select your materials: Choose high-quality lumber like cedar, redwood, or pressure-treated pine for durability. Consider using recycled materials for a sustainable approach.
2. Plan your design: There are many Adirondack chair plans available online, but customize it to your liking. Adjust the height, seat depth, or back angle for ultimate comfort.
3. Cut and assemble the frame: Follow your chosen plan carefully, ensuring all cuts are precise. Use screws or bolts for strong joints and reinforce areas prone to stress.
Adding Unique Touches:
1. Shape the back: Go beyond the traditional straight back. Carve a gentle curve or add a decorative top rail for a more sophisticated look.
2. Play with the arms: Instead of straight arms, incorporate curves or a slight angle for better support. Add a small shelf or cupholder for practicality.
3. Explore paint and stain: Don't limit yourself to solid colors! Consider using multiple shades, creating a weathered effect, or applying a natural oil finish.
4. Incorporate embellishments: Add decorative hardware like metal accents, leather straps, or rope detailing. Attach a small planter box to the back for a touch of greenery.
5. Personalize the seat: Add a removable cushion for comfort, using a fabric pattern that complements your outdoor decor. Consider adding a personalized nameplate or inscription.
Tips for Success:
Pre-drill holes: This prevents wood splitting and ensures a clean finish.
Sand thoroughly: A smooth surface is crucial for applying paint or stain evenly.
Use a quality sealant: Protect your chair from the elements with a water-resistant finish.
By following these steps, you can create a custom Adirondack chair that not only reflects your personal style but also provides years of enjoyment. So grab your tools, let your creativity flow, and build a chair that's truly one-of-a-kind!

Comments
Post a Comment